Disassembly of the window.
Please read our Disclaimer if you haven't already!
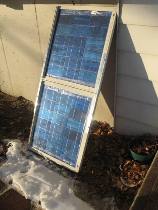
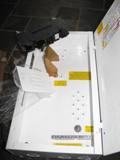
Alrighty before you disassemble the window you have to find a window ah! So I found a few double hung windows I had out back that I had taken out of my house when I first started to replace my homes windows. Below you will see a photo of the window I am going to use for this.

So first we grab the window and we take both sections out of the window(top and bottom panes). This was pretty easy to do, I basically unlatched the lock at the middle of the window were both sections meet. I then twisted the window to the left to raise the units out. Below is the section we will work with first.

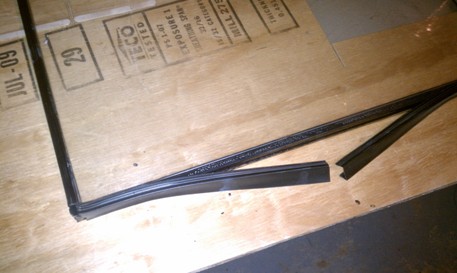
Now we need to disassemble the frame of this section of window. We do this by first taking all of the screws out from around the sides of the aluminum. On this window there were 4 screws holding this unit together, one at each corner. I unscrewed these and the aluminum frame slid right off. Make sure when taking off the frame you either screw the frame back together, or note orientation because we will be using this later to put the panel back together!
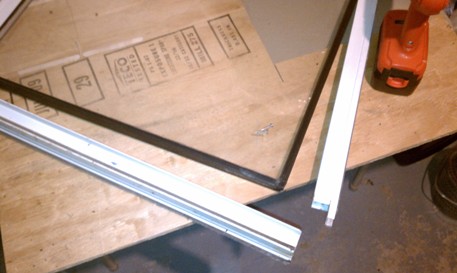
Once we have the aluminum out of the way there will be a plastic or in our case a rubber seal around the window glass that will need to be removed. This normally will just peel away as mine did.
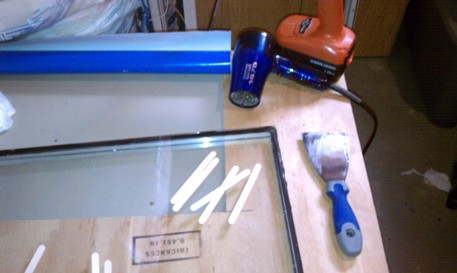
With the aluminum frame off and the rubber seal removed we are now going to seperate one pane of glass from this section of window. For this we will be using a hairdryer(or heatgun), a putty knife, and some posicle sticks. What we are basically going to do here is take the hair dryer and heat up the black liquid rubber/seal that is holding the window pane to the aluminum channel. We are then going to go along while heating and slide the putty knife into the seal and run it along with the heated portion of seal.
Every so often we will slide in a popsicle stick to keep the seal and the aluminum channel seperated. ******Note - make sure when putting the putty knife in the seal between the glass and the channel that you DON'T pry or pull on the glass, if you do this will crack the glass and make it unusable*****. see the next few photos..
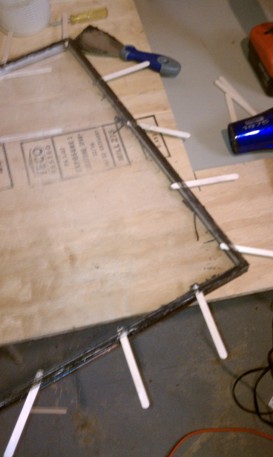
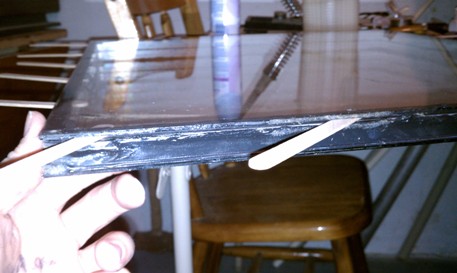
After heating all the way around and seperating the seal from the glass pane it will simply lift off, and that will conclude disassembly.
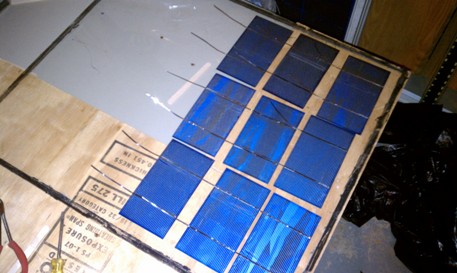
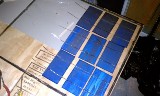
Now your ready to measure the pane and determine the layout of your panel! Also to note keep the other side of the glass, and the aluminum channel, we will be using this also for re-assembly. Below you will see the glass pane that we have taken off with some 3X6 tabbed cells layed out on it.