Determine the Layout of the Solar Cells!
Please read our Disclaimer if you haven't already!
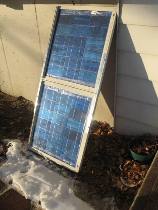
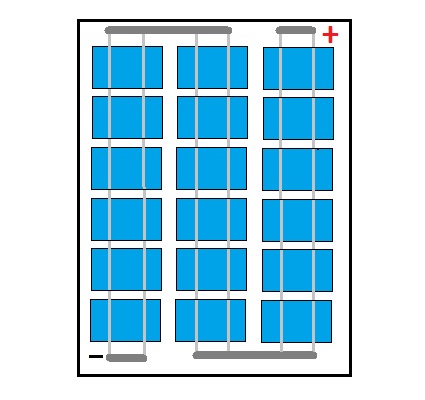
Ok to begin Layout the top piece or bottom piece of glass on a table, either measure or lay your solar cells out on the pane. In our instance our window pane will fit 3 solar cells wide by 6 solar cells High. Be sure when laying out the cell you take into consideration that there will be bus wire at either end of the cells top or bottom. Also make sure you leave enough room in-between the Solar Cells so that they will not touch. See next few photos.
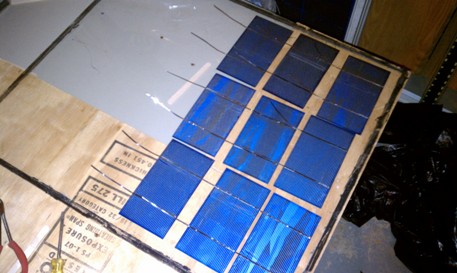
Draw a visiual diagram on a piece of paper what dimensions you will be using and the spaces so that you can reference this later when building the panel.
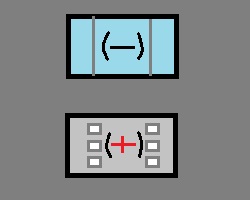
****Note: Remember when thinking of layout, The Solar Cell itself the Front side is the Negative Side and the Back of the Solar Cell is Positive.
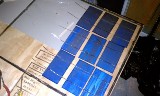
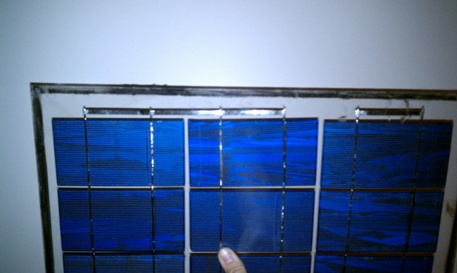
Ok, next we need to figure out how the tabbing will run to connect the cells to each other to create 9 volts of electricity. (note: This part of our panel will only be half of the voltage because of the size of the window pane. If you are able to put all the cells on one pane of glass this value you would want would be 18 volts, this is the voltage of many commercial panels.) Each of our Solar Cells are 3X6 .5volts, and about 3.2amps.
Think of the solar cells as batteries in this instance. We will need to run the tabbing from positive to negative then to positive then negative, and so on. This will end up giving us .5volts + .5volts +.5volts............... ending up with 9 volts(maybee 18 volts in your case). Also aligning them this way will keep our amps at a constant 3.2 .
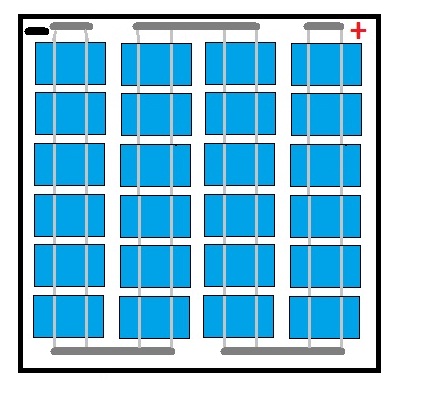
Below you will see 2 different layouts and 2 different positive and negative connection points. The 3 column is the layout I am using in this example.
Now that we have a layout and know which way to connect the tabbing lets get started on Soldering.